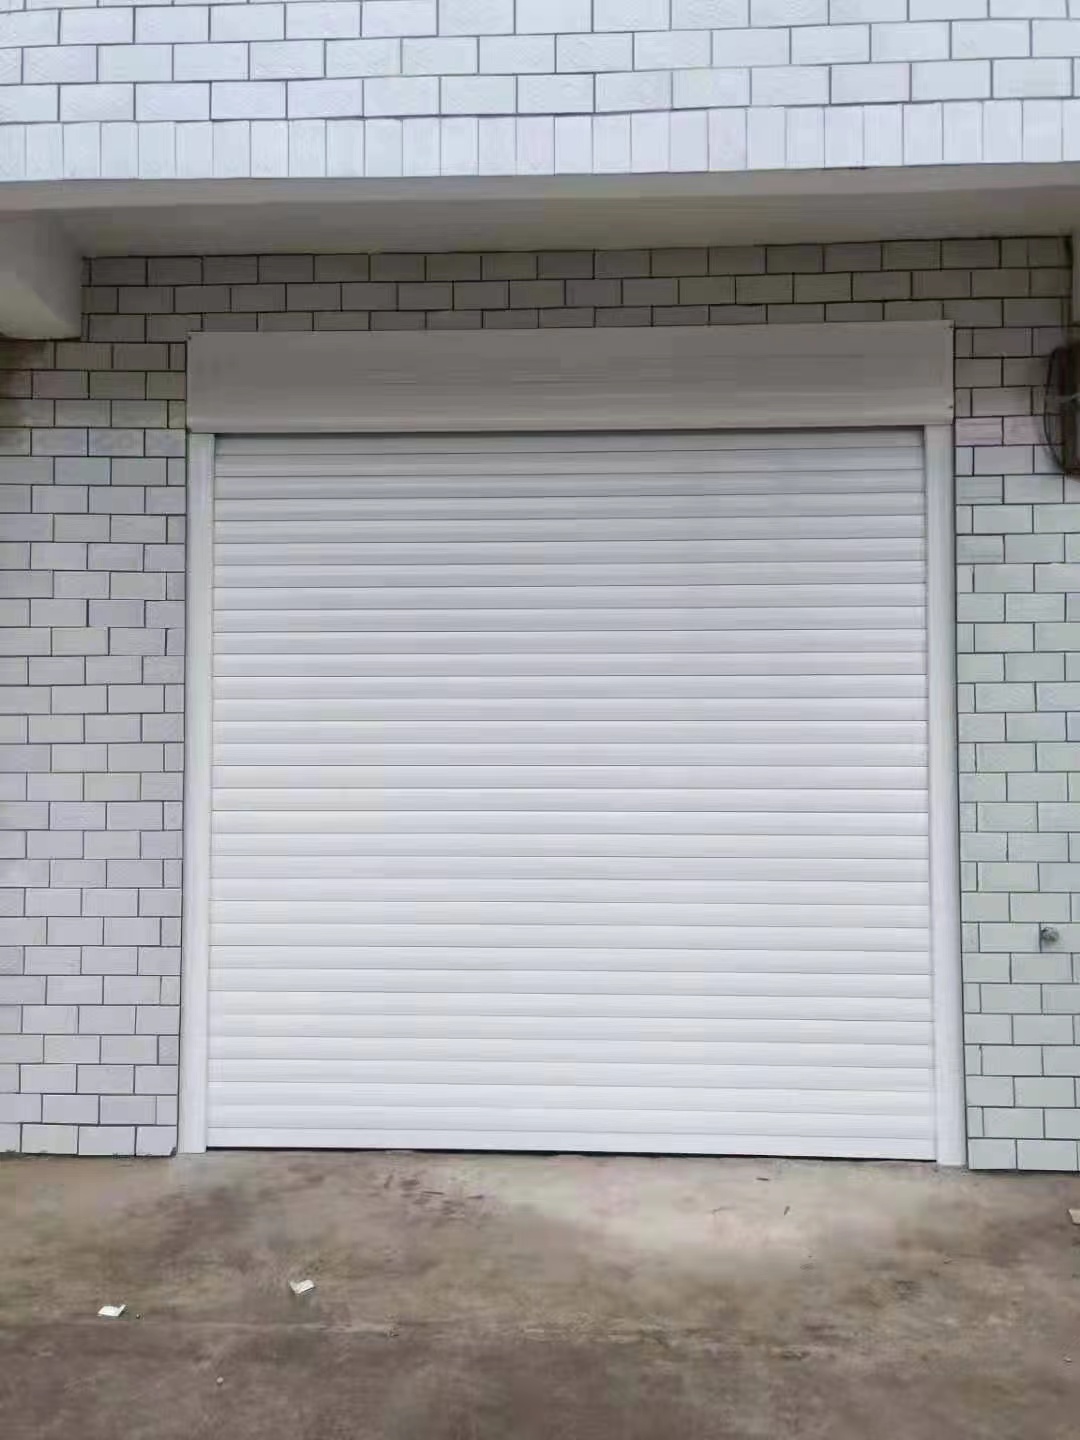
Roller shutters not only provide functionality but also greatly enhance the overall aesthetics of the exterior of your home. However, their beauty may fade with wear and tear over time. Painting your roller shutter door can give it a new look and give your home an instant new look. In this blog post, we’ll guide you on how to paint a roller shutter door for a professional finish.
Prepare:
1. Gather your supplies: For this project, you will need a paintbrush or roller, primer, paint of the desired color, sandpaper or sanding block, paint tape, rag or plastic sheet, and a screwdriver or drill to remove the blinds if if you need.
2. Clean the blinds: Before you start painting, use a mild detergent solution to remove any dirt, dust or grime from the blinds. Rinse them thoroughly and let them dry completely.
Steps to paint a roller shutter door:
Step 1: Remove the shutter (if needed): If your shutter door is removable, use a screwdriver or drill to carefully remove it. Place them on a flat surface like a workbench or a rag so they are easier to reach while painting. If your blinds are set, no worries, you can paint them while they are in place.
Step 2: Sand the Surface: To ensure proper adhesion and a smooth finish, lightly sand the rolling door with fine-grit sandpaper or a sand block. Sanding removes any loose paint, rough surfaces or blemishes.
Step 3: Primer: A primer helps the paint adhere better and provides an even surface. Use a brush or roller to apply a coat of primer to all sides of the rolling door. Allow to dry completely according to manufacturer’s instructions.
Step 4: Tape and Secure Adjacent Areas: Use painters tape to mask any adjacent areas you want to leave unpainted, such as window frames or surrounding walls. Cover the floor with a rag or plastic sheet to protect the surrounding area from accidental splashes or spills.
Step 5: Paint the roller shutter: Once the primer has dried, it’s ready to be painted. Stir the paint well before pouring it into the paint pan. Using a brush or roller, begin painting the shutter, working from the edges inward. Apply smooth, even coats and allow drying time between each coat. Depending on the desired opacity and the type of paint you use, you may need two or three coats for full coverage.
STEP 6: REMOVE TAPE AND ALLOW TO DRY: Once the final coat of paint has been applied and the desired look has been achieved, carefully remove the painter’s tape before the paint is completely dry. This prevents peeling or chipping. Allow the blinds to dry thoroughly according to the paint manufacturer’s instructions.
Step 7: Reinstall the shutters (if applicable): If you removed shuttered doors, carefully reinstall them after the paint has completely dried. Use a screwdriver or drill to secure them back in place.
Painting your roller shutters is a satisfying and cost-effective way to freshen up the look of your home. By following these step-by-step instructions, you can achieve beautiful, professional results. Remember that proper preparation, including cleaning and priming, is essential for a long-lasting finish. So unleash your creativity and transform your roller shutter doors with delightful colours!
Post time: Jul-31-2023