Roller shutters are commonly used in residential and commercial spaces due to their safety and convenience. However, there may be times when you need to remove it for repair, replacement or refurbishment. In this blog post, we will give you a step-by-step guide on how to efficiently and safely remove your roller shutter.
Step 1: Gather required tools and safety equipment
All necessary tools and safety equipment must be gathered before starting the demolition process. You will need:
- screwdriver or drill bit
- hammer
- Wrench or pliers
- Goggles
- Working gloves
- Ladder or stepladder
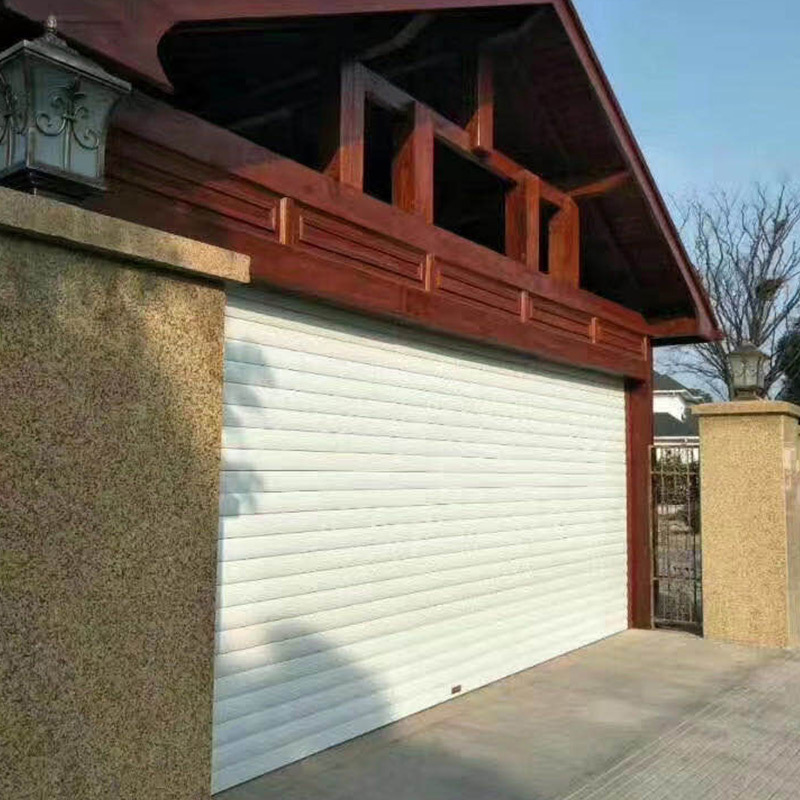
Step 2: Check the Roller Door
Examine the shutter door carefully to determine its type and construction. This will help you understand the mechanism and locate the screws, brackets or clips that hold the door in place. Also, refer to the manufacturer’s manual or website (if available) for specific instructions specific to your model of rolling door.
Step 3: Disconnect Power to the Door
If your roller shutter requires electricity to operate, it is critical to disconnect it from the power source before proceeding. Locate the master switch or fuse box and turn off the door-only power. This step keeps you safe throughout the removal process.
Step 4: Remove the Panel Cover
Start by removing the panel cover on the inside of the door. Use a screwdriver or drill to remove the screws or bolts holding the panel cover in place. Carefully set the screws/bolts aside as you will need them later for reinstallation.
Step 5: Remove Door Assembly
Next, remove the door assembly from the roller shade mechanism. Depending on the design of your door, you may need to use a screwdriver, wrench, or pliers to unscrew brackets, clips, or hinges. Again, please store the hardware in a safe place for later use.
Step 6: Release and Remove the Roller Shade
Loosen the screws or bolts that secure the shade to the wall or ceiling bracket. Once released, slowly remove the roller shade while making sure it remains stable and balanced. For heavier doors, it may be helpful to have a second person assist you with this step.
Step 7: Disassemble the Roller Door
If necessary, disassemble the roller shutter into individual parts. This step is critical when removing larger doors for repair or replacement. Follow the manufacturer’s instructions to ensure a proper removal process and preserve the integrity of the door assembly.
Step 8: Properly Clean and Store the Door
After removing the roller shutter, take this opportunity to clean any dirt, dust or debris that may have accumulated on its surface. Store the dismantled door and its components in a safe, dry place to prevent damage during repair or replacement.
in conclusion:
By following this step-by-step guide, you can efficiently and safely remove your rolling door. Remember to always put your safety first, wear proper safety equipment and disconnect power if necessary. If you are unsure or uncomfortable doing this task yourself, it is recommended that you seek professional help to ensure the best possible outcome during the removal process.
Post time: Jul-31-2023