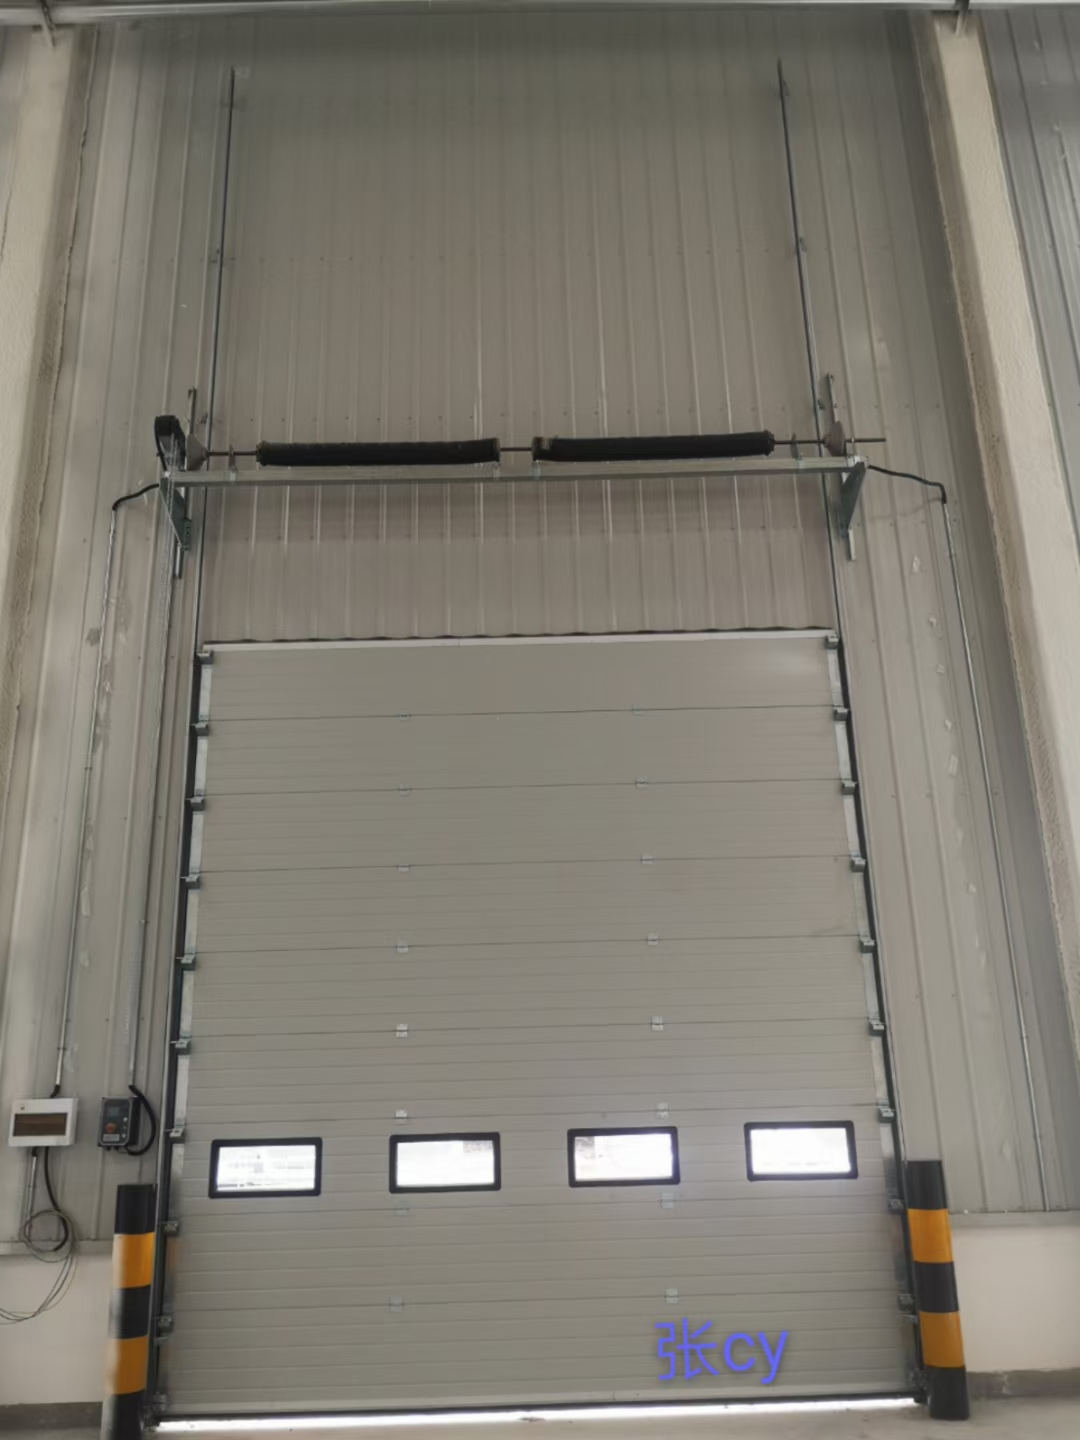
Sliding doors are a popular choice for many homeowners due to their functionality and aesthetics. Whether you want to replace your existing sliding door or need to maintain it, it’s crucial to know how to remove it safely. In this step-by-step guide, we’ll walk you through the entire process, ensuring a smooth and hassle-free sliding door removal.
Step 1: Gather the necessary tools
Before starting the task, it is important to gather the tools required for successful removal. These include a screwdriver, Allen or Allen key, utility knife, putty knife and protective gloves. Having these tools will make the entire process more efficient.
Step 2: Remove the sliding door panel
To begin the removal process, remove any screws or fasteners holding the sliding door panel in place. Most sliding door screws are located in the bottom corners of the door panel. Carefully loosen and remove them using a screwdriver or Allen wrench. Keep the screws in a safe place to avoid misplacing them.
Step 3: Disconnect the sliding door rollers
Once the door panel is free, you need to disconnect the sliding door rollers. Locate the adjustment screw on the bottom or side of the door and use a screwdriver or Allen wrench to adjust it to its highest position. This will lift the door panel off the track for easier removal. Gently lift the door panel upward to remove it from the track. If needed, have a partner assist you in removing the door safely to avoid any accidents.
Step 4: Remove the sliding door frame
After the door panel is removed, the next step is to remove the sliding door frame. Check the frame carefully for any screws or fasteners that need to be removed. Use a screwdriver to loosen and remove these screws. It is recommended that someone supports the frame while the last screw is removed to prevent the frame from falling.
Step 5: Prepare the opening for the new door (optional)
If you plan to install a new sliding door, take this opportunity to prepare the opening. Check the area for any dirt or debris and use a putty knife to remove it. You can also use a vacuum cleaner or a damp cloth to clean the tracks. Preparing the opening will ensure a smooth installation of the new door.
Step 6: Properly store and dispose of sliding doors
Once you have successfully removed your sliding door, store it properly in a safe and dry place. This will prevent any damage that may occur during storage. If you no longer need the door, you should consider disposal options such as recycling or donating it to a local organization to minimize your impact on the environment.
Removing a sliding door may seem like a challenging task, but with the right tools and step-by-step guide, it can be done safely and efficiently. By following the outlined steps, you will be able to easily remove your sliding door panels and frames for repairs, replacement, or any needed changes. Remember to prioritize safety during this process and seek professional help if necessary.
Post time: Oct-11-2023